Outdoor Camera Housing v2
15 Nov 2016I’ve built a medium-sized camera housing a while ago for a stationary multi-day/week installation. Version 2 of the outdoor camera housing is intended to be a little bit more portable.
Changes to version 1:
- runs on battery, no grid access needed
- is more or less a ‘dumb’ housing without a full linux machine inside. The brain is just an microcontroller (–> no control over camera exposure settings)
Problems to solve:
Battery
The original component is a 1040mAh Lithium battery, listed as 7.2v output (NP-FW50). So the best replacement with a litte bit more capacity is a LiPo 2S battery for RC-cars and planes. 2S means 2 cells in series, each one provides 3.7v, so 7.2v for the whole unit. The usual RC-LiPo is made for really high output, provding insane levels of current. That’s not really needed in this case, so a cheap one with less ultra/extreme ratings is probably not a bad choice. I opted for a 5000mAh model by the brand Dymond.
How to check if the battery is empty
LiPos with more than one cell have a balancer cable which gives direct access to every single cell. It’s used to level the cells while charging, but you can also use it to check voltage levels to prevent total discharge.
How to release the shutter
The Sony a6000 I use has a Micro USB-Port with additional pins called Multiport Connector for the remote control function. Some cheap intervalometers use a camera cable with a 2.5mm Audio-Jack which you can buy separatly and that’s probably the easiest way to get the a6000 hooked up to your controller board.
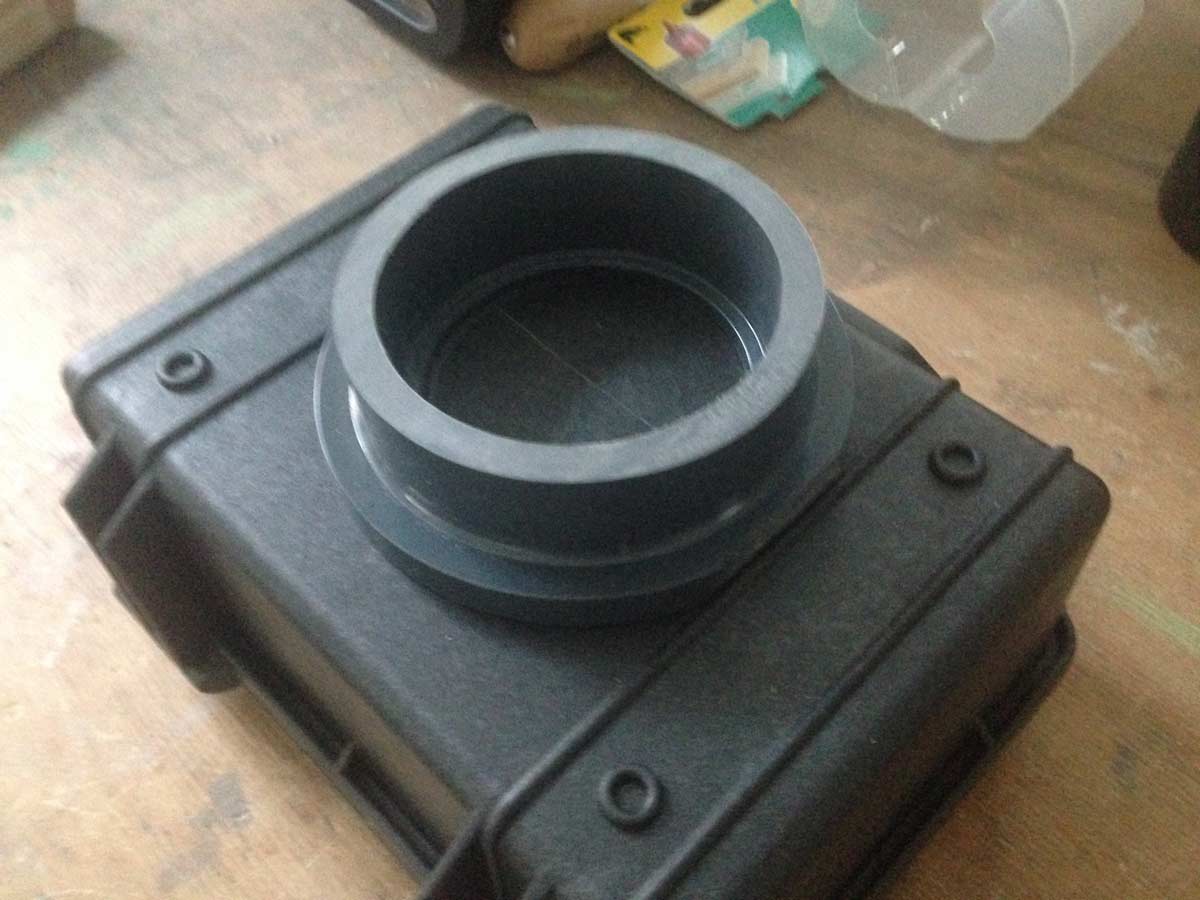
Housing
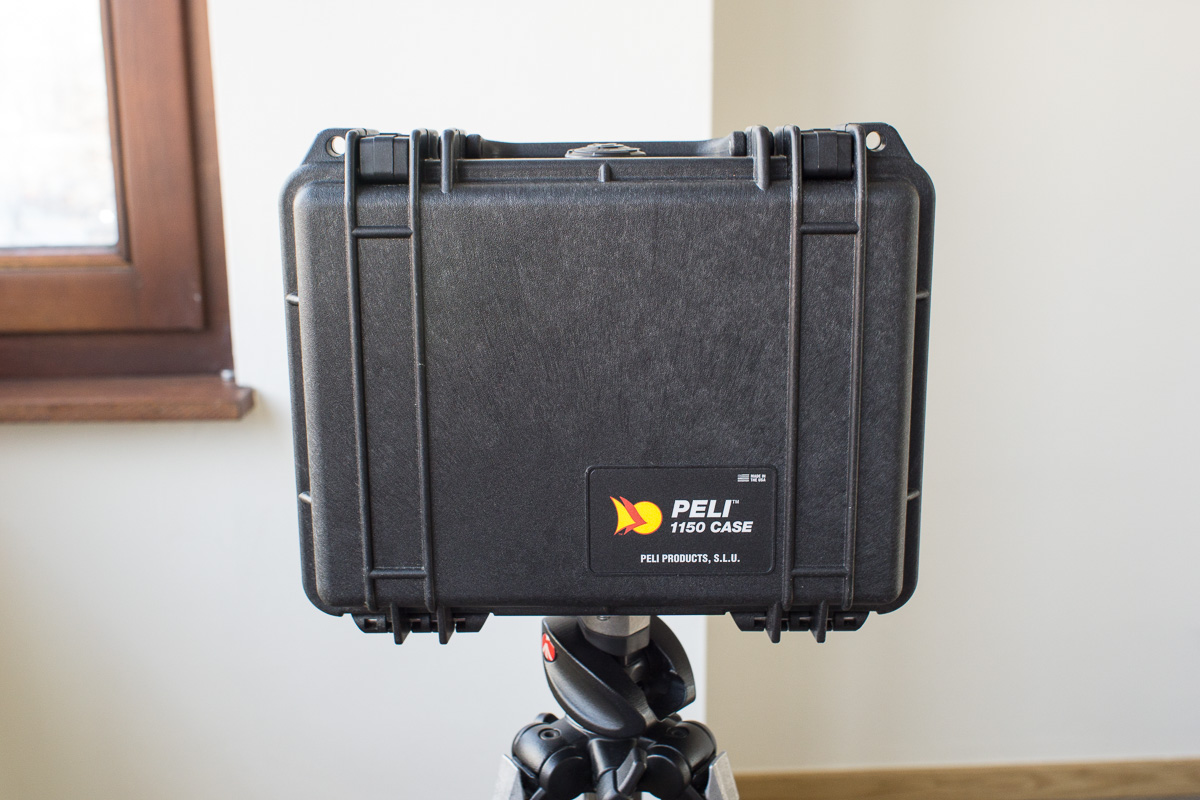
Pelicase 1150, second to smallest case in the ‘normal’ pelicase series.
Fastening
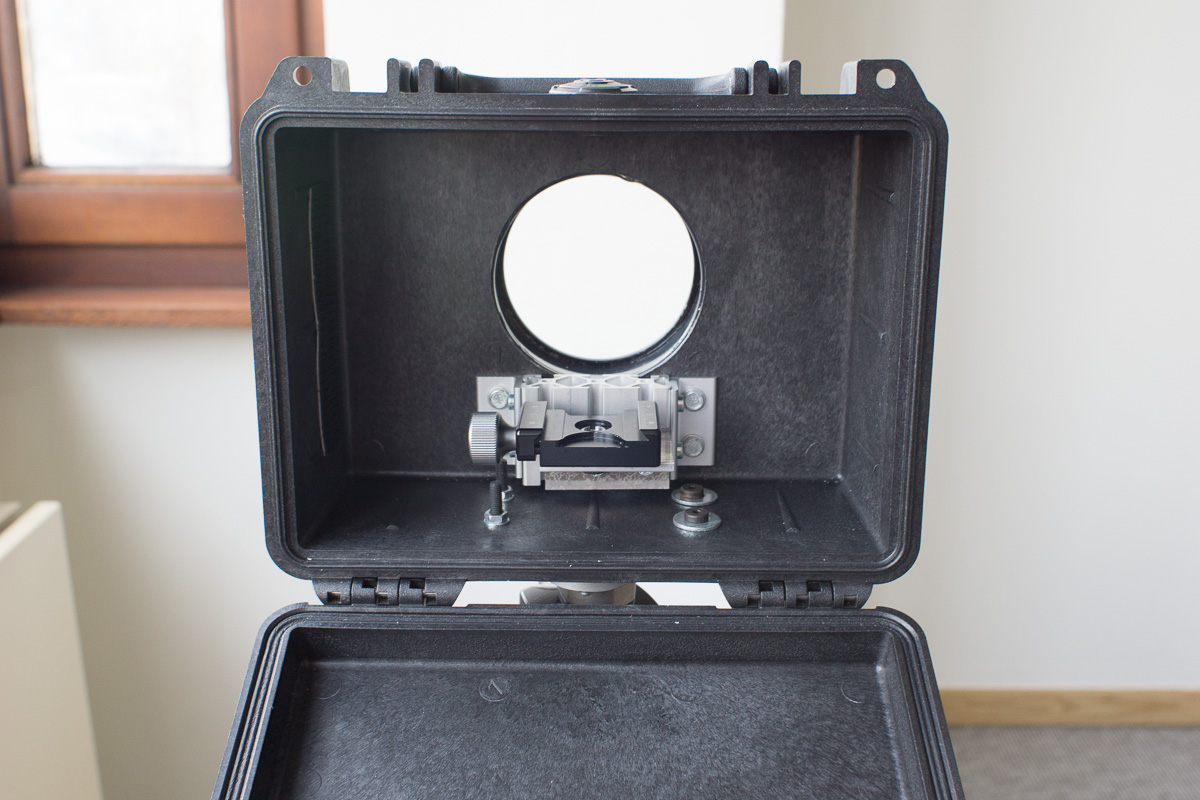
Initially I planned to use 20x20mm aluminium extrusions to build an L-bracket which can be adjusted in Y direction. In the end that took up too much space, so I used 20x60mm aluminium extrusion as a rail to adjust the height of a 4mm Aluminium bracket with drilled holes to fasten the Arca Swiss clamp.
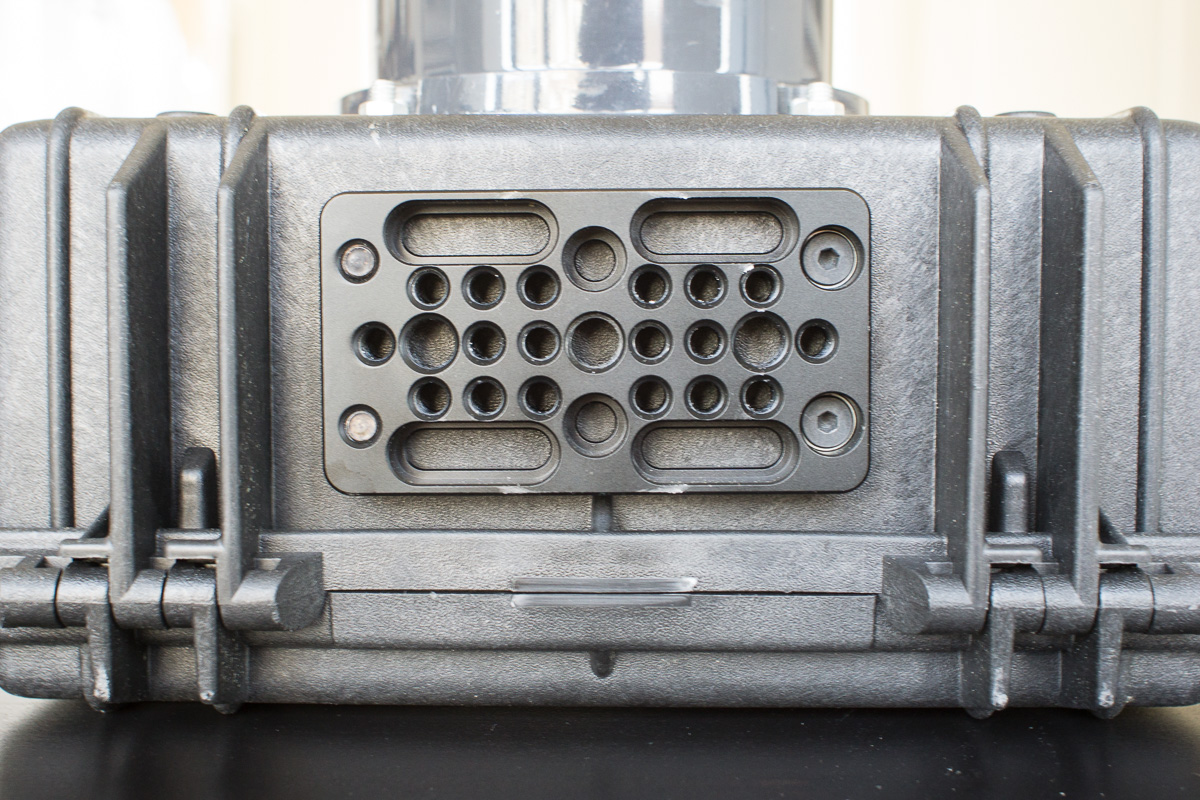
The housing itself is mounted on a cheese plate with 1/4 and 3/8 screw threads. Certainly not the cheapest option if you need more than one, but easier than buying the tools to create screw threads in a raw metal plate yourself.
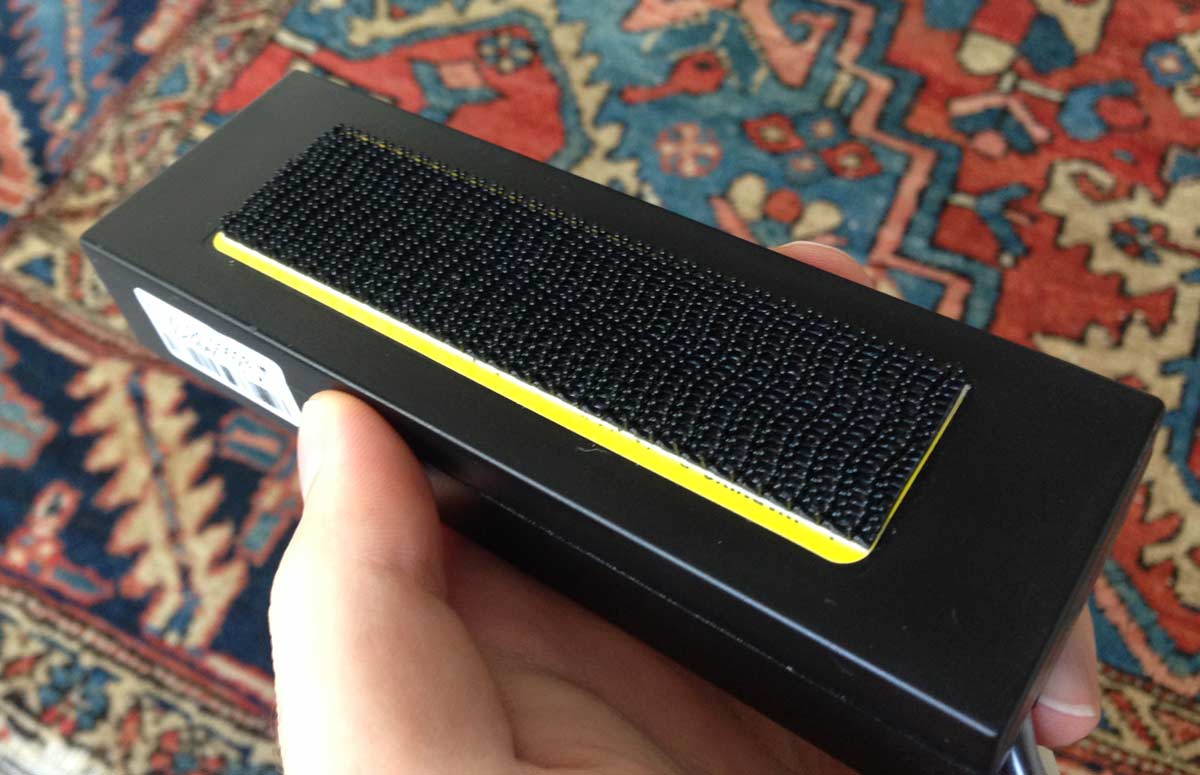
The battery is fastened with 3M Dual Lock velcro substitute. It’s not perfect, but really sturdy. The downside is the heavy price tag, ~12€ per meter.
Hardware
Camera
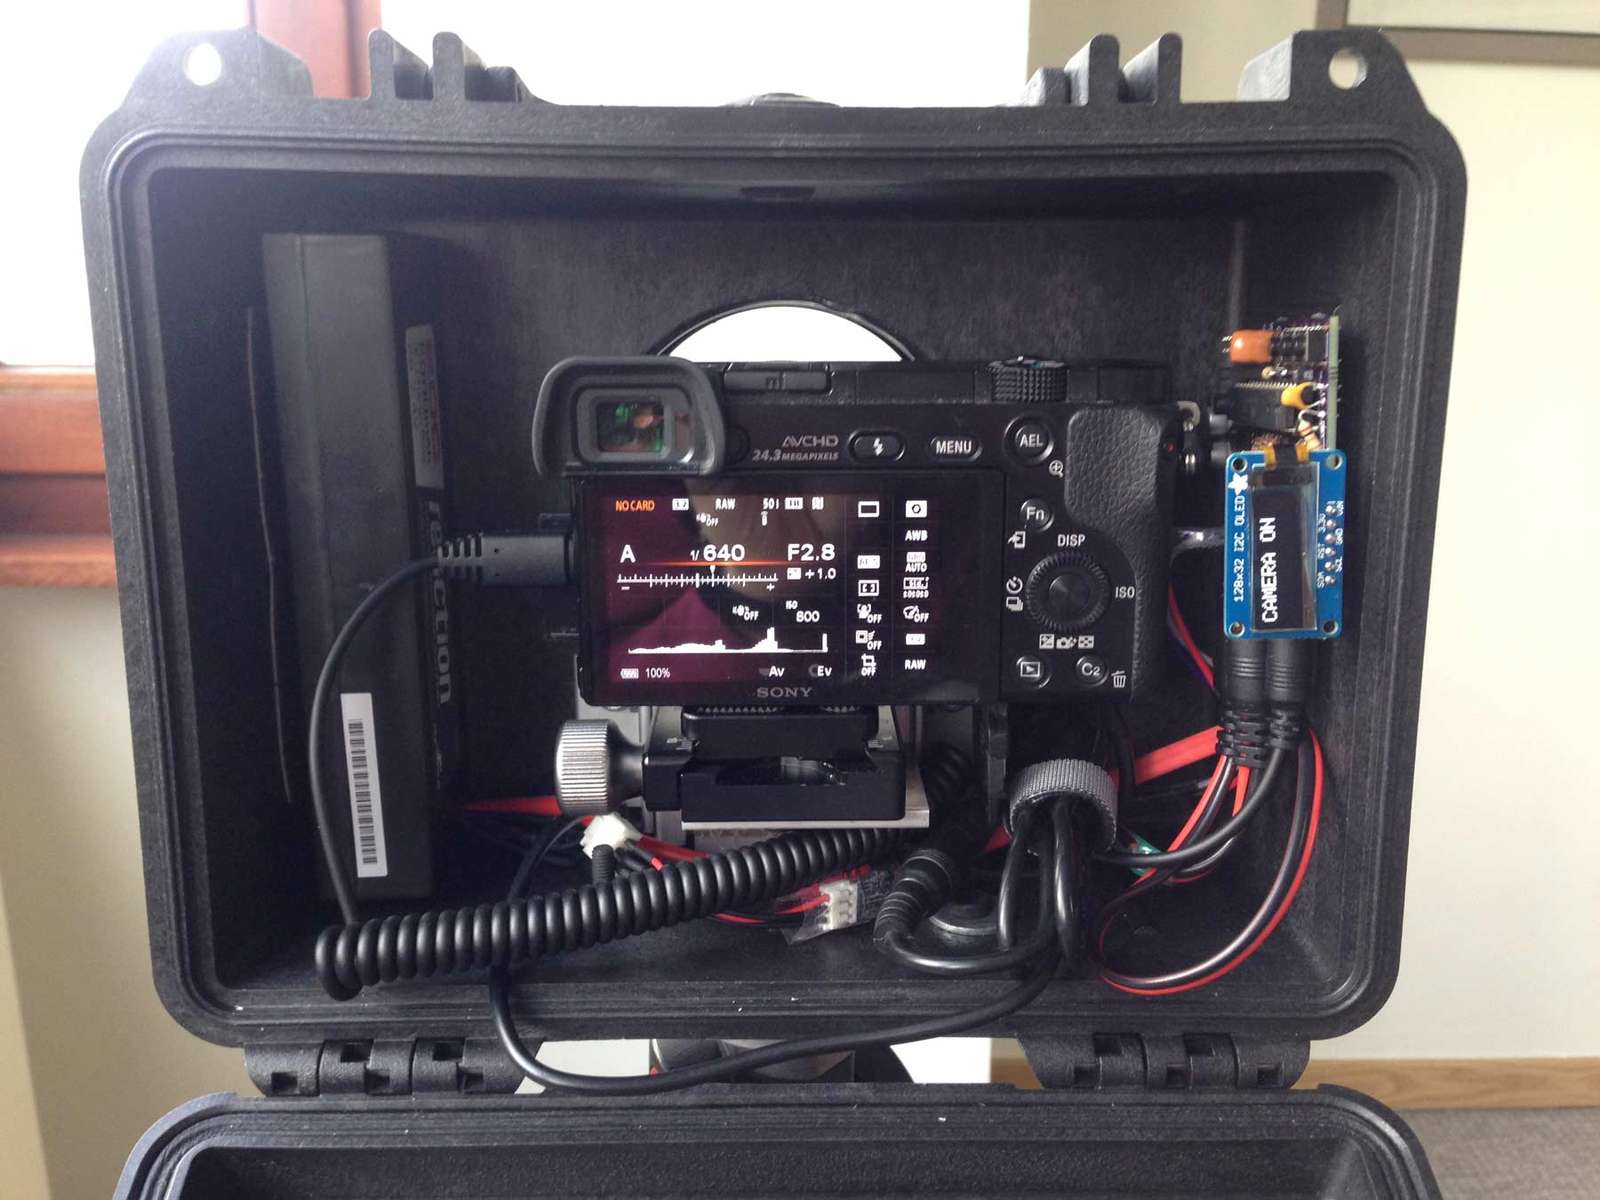
Sony a6000 bought used. Probably the best thing you can get for this job. 24MP sensor, quite small and easy. Lens is a 12mm f/2.0 Samyang with manual focus. It’s relatively small, set to infinity focus at f/8.0 and works like a charm.
Electronics
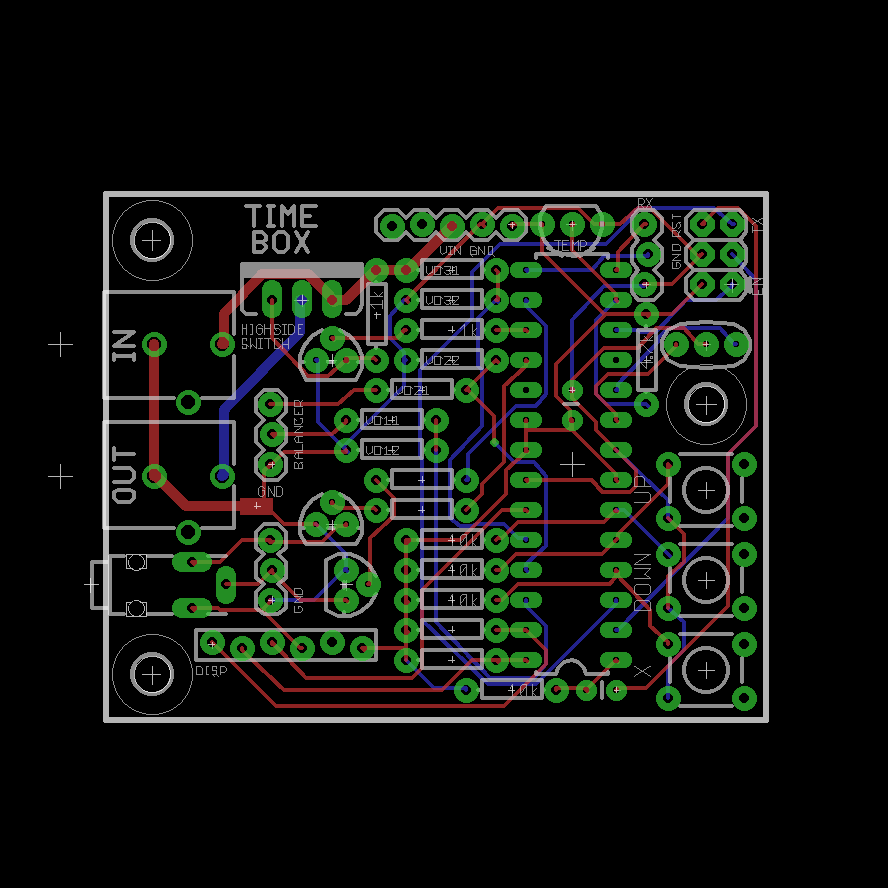
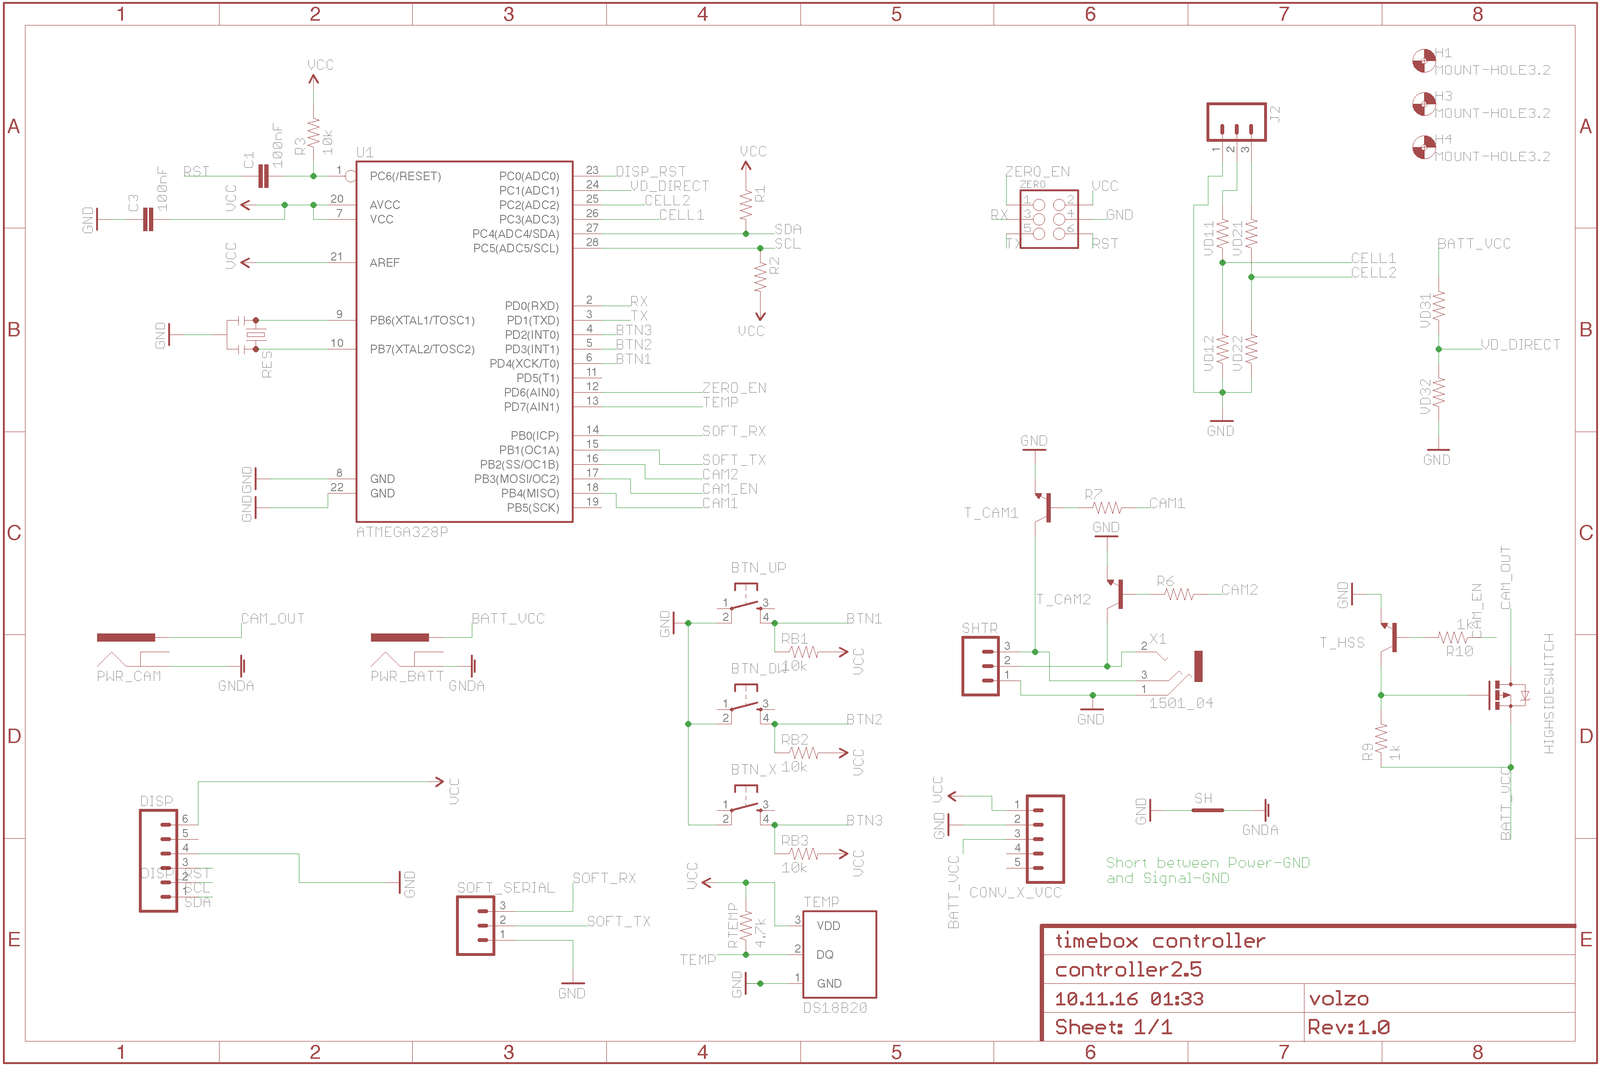
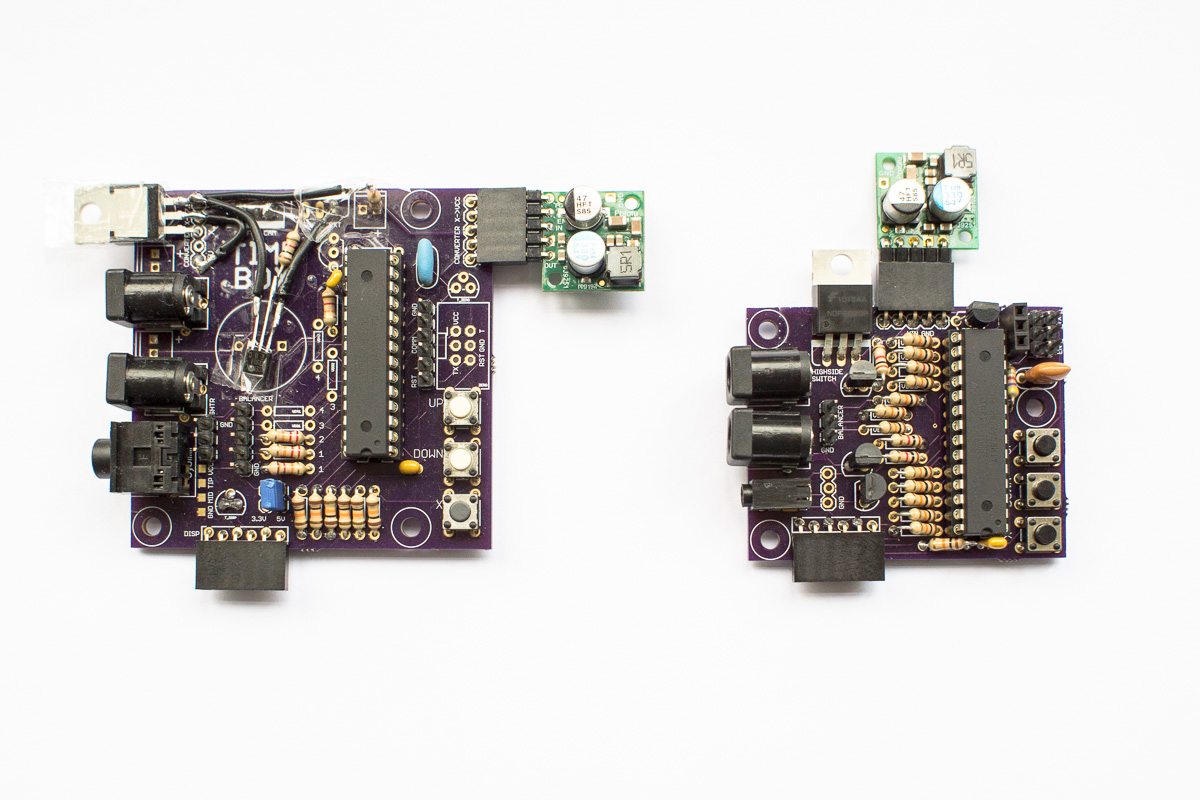
A microcontroller (atmega328) switches on the camera and triggers the shutter via the shutter remote cable. To adjust settings without the need for a laptop, there is even a display and 3 (three!11) buttons on the board. Switching the camera off and on is done by a P-Channel Power Mosfet which works with 5 and 3.3v too. PCBs ordered at OSHpark. Great quality, no shipping costs and reasonable 5$ per square inch (and you get 3 copies of the board). Only downside it takes about a month.
Bill of Materials:
| Part | Shop Link | Price |
|---|---|---|
| Sony a6000 (used) | 360,00 € | |
| Samyang 12mm 2.0 | 290,00 € | |
| Pelicase 1150 | Amazon | 38,99 € |
| Cheese Plate | Amazon | 23,13 € |
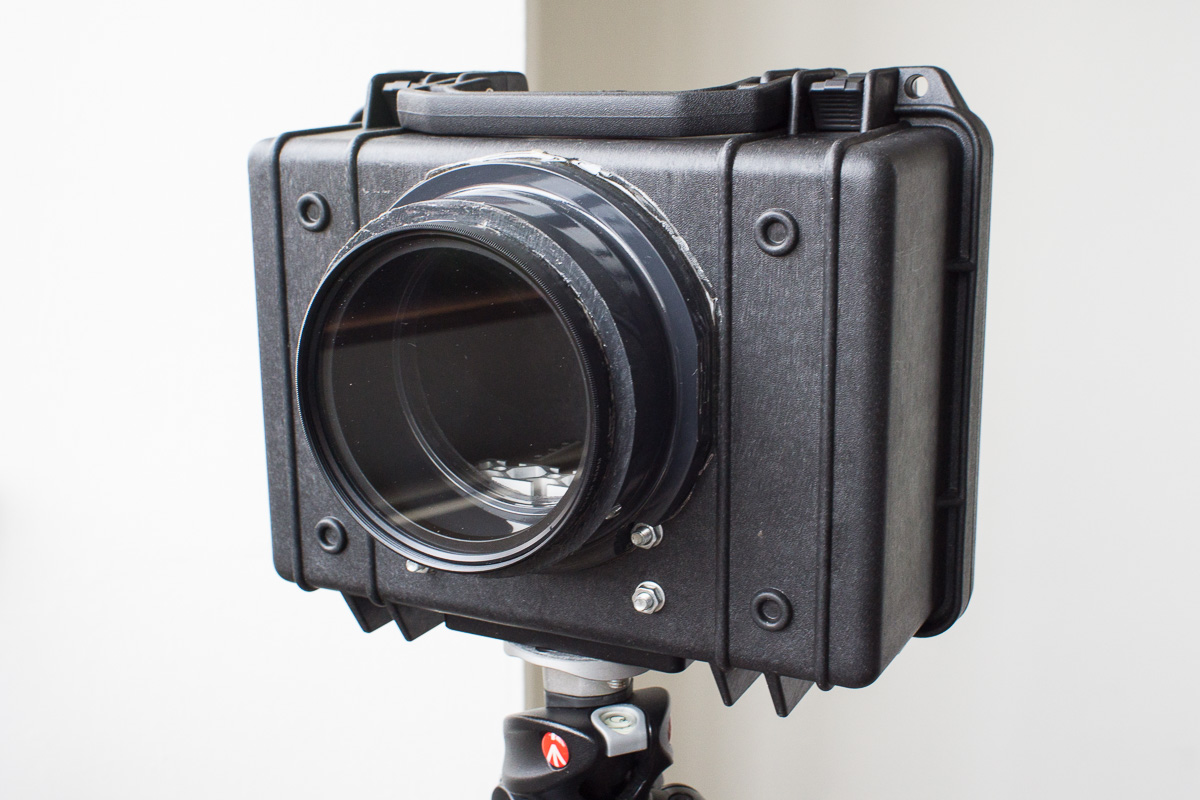
| UV-Filter | Amazon | 19,99 € |
| Step-Up Adapter 86-95mm | Amazon | 8,99 € |
| Dummy Camera Battery | Amazon | 12,99 € |
| Lens Cap 95mm | Amazon | 5,99 € |
| Arca compatible Holder | Amazon | 15,19 € |
| Camera Plate | Amazon | 5,19 € |
| 3M Dual Lock | Amazon | 11,88 € |
| Shutter Cable | Amazon | 4,40 € |
| Epoxy Glue | Reichelt | 3,90 € |
| Shipping Reichelt | 5,60 € | |
| 3/8” (1”) Screw + Nut + Washer (2x) | Zollshop | 3,04 € |
| 1/4” (5/8”) Screw + Nut + Washer (4x) | Zollshop | 4,12 € |
| Tools for Imperial Screws (1/8”) | Zollshop | 0,80 € |
| Tools for Imperial Screws (3/16”) | Zollshop | 1,20 € |
| Shipping Zollshop.de | 3,60 € | |
| Not exactly listed | ||
| Compontents and PCB (Controller) | OSHpark | 80,00 € |
| Aluminium Extrusion | 15,00 € | |
| Sum | 914,00 € |
Actually the expenses were - of course - a bit higher since I bought materials that I didn’t use in the end or bought extra quantities just to be sure.
Building steps
Basically the same as for the Outdoor Housing v1, but this time containing a bit more smartness and less dumb mistakes.
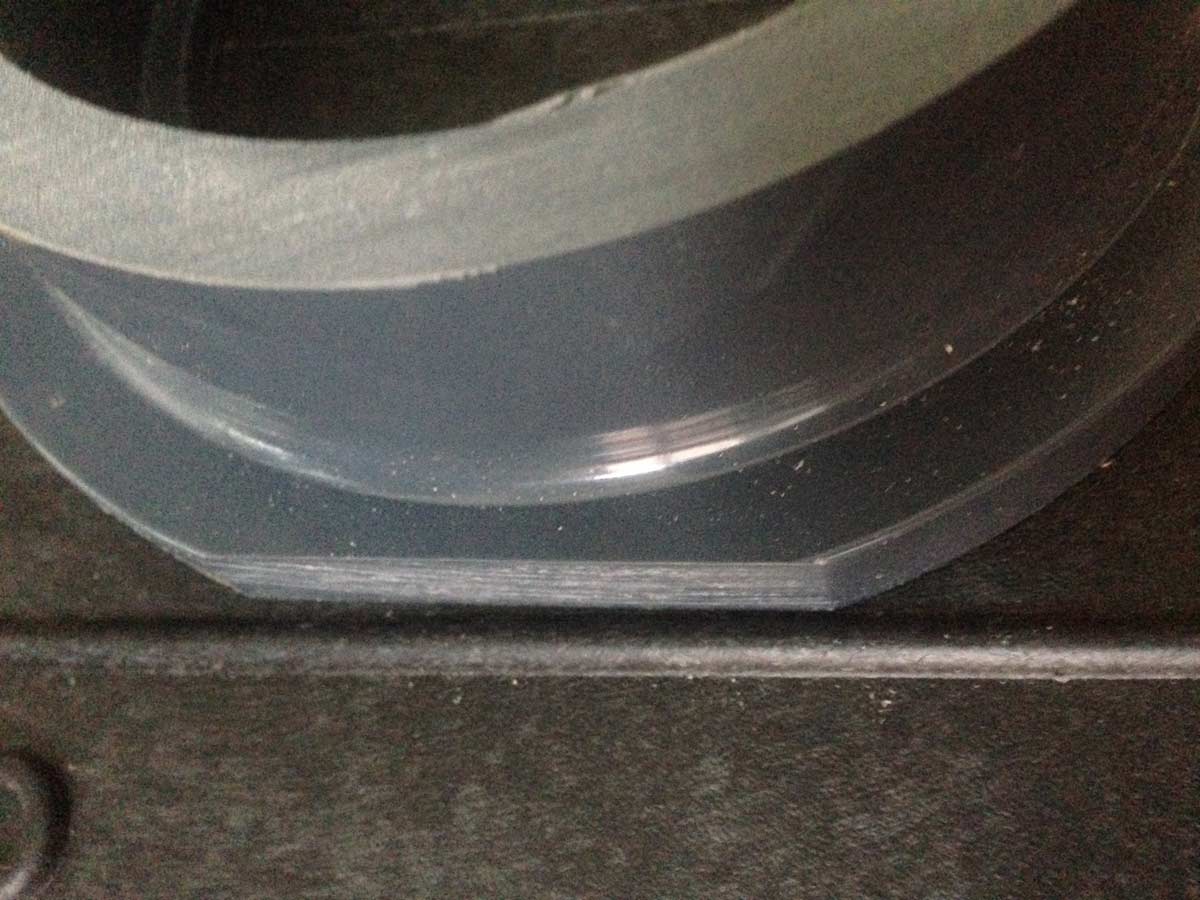
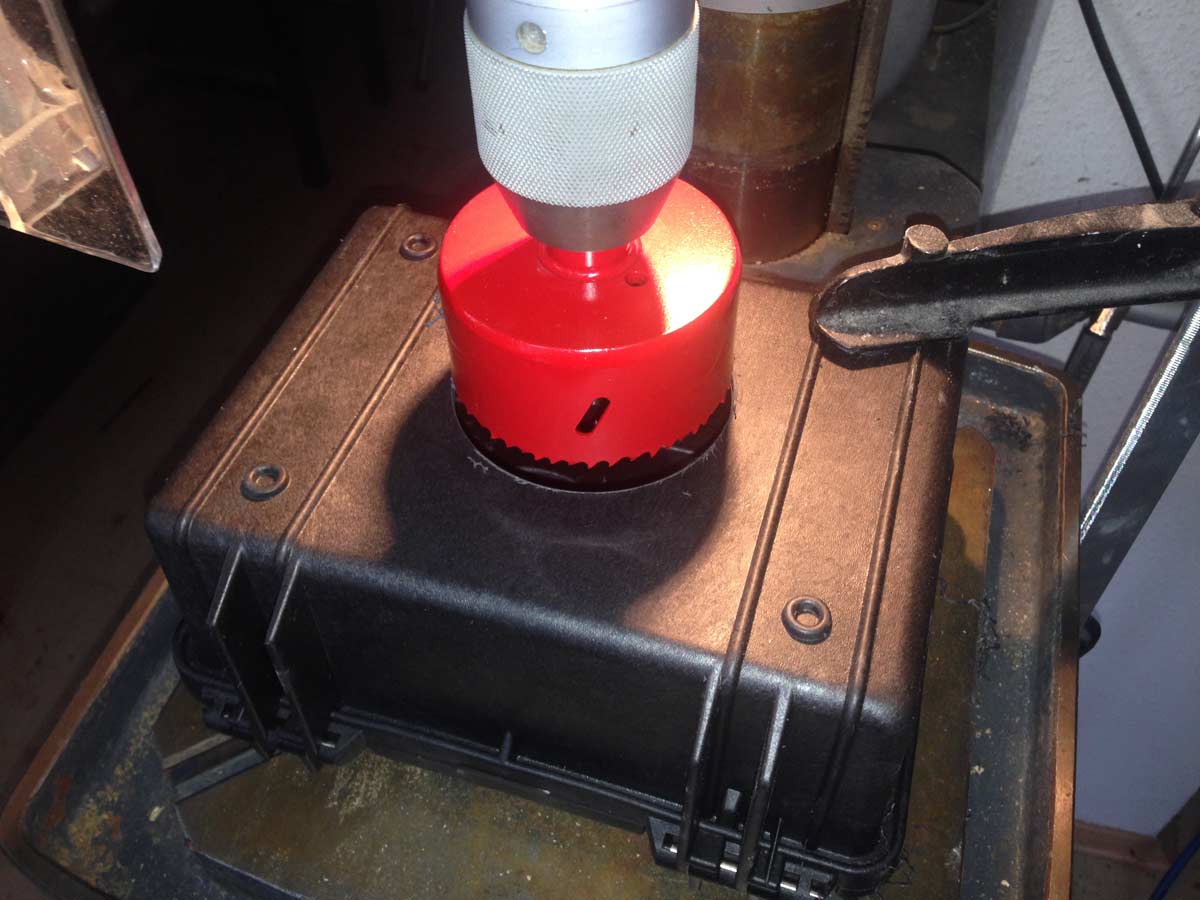
Drilling the Holes

Things that didn’t really work out:
For my first controller board I used an N-channel Mosfet as a Low-Side Switch (cutting off ground to switch the camera off) and had to learn that the camera can get ground via it’s shutter cable.
Besides that: no problems. I’m happy this time 🎉
Things I learned
- Be careful about acrylic glue. If you inhale the fumes you will regret it really soon. Headache and nausea, just like a hangover but without drinking alcohol and all the fun.
- Don’t waste your time with plastic. Just use raw aluminium plates, ideally 4-6mm strength.
- Designing PCBs can be frustrating and rewarding at the same time.
Extensions
I want to have a bit more control over the image capturing process. Especially doing exposure bracketing and – maybe – having a live view for composing while the housing is already closed. The controller board has an extension connector to fit an external Linux Chip and I’ve got a Raspberry Pi Zero here which would be a likely candidate to do the job, but having something a bit more ‘barebone’ would maybe preferable. Basic idea is that the Zero takes care of adjusting camera parameters and releasing via the USB connection while the microcontroller wakes the Zero up. Plus: I would need to power the camera only while it’s really taking an image. Right now I power the camera for 50s (10s init, up to 30s exposing, 10s writing including error margin) even when the camera exposes just a 1/100th second.
Wishlist for version 3
- reduce size
- use a really, really, low cost camera and battery
Links
Software and PCB layout files on Github
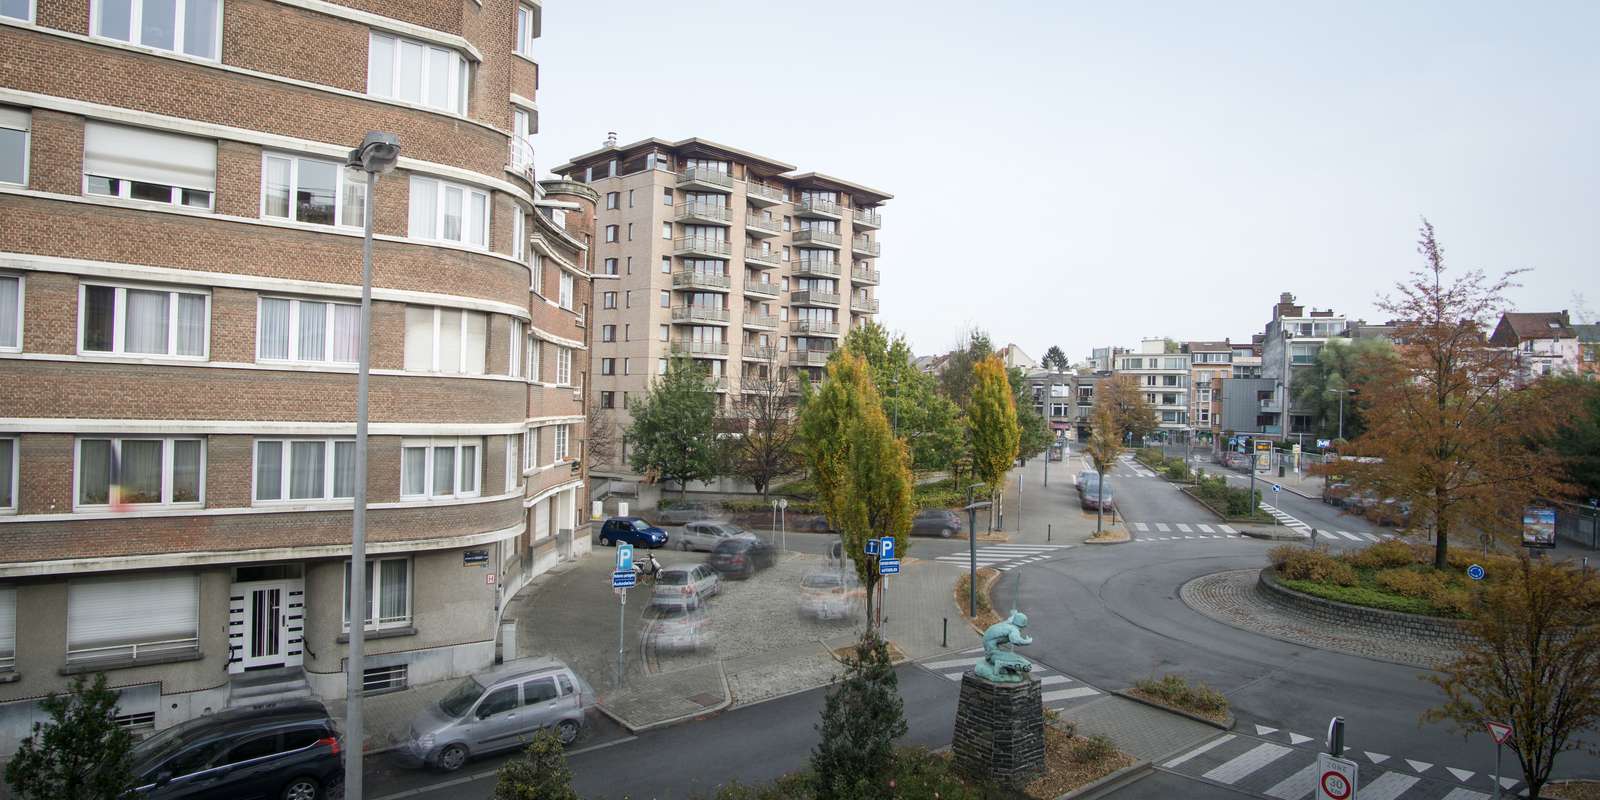
Bonus content: first testrun on the window. That’s a depressing 7 days of Brussels weather in one image.