Building an outdoor camera housing
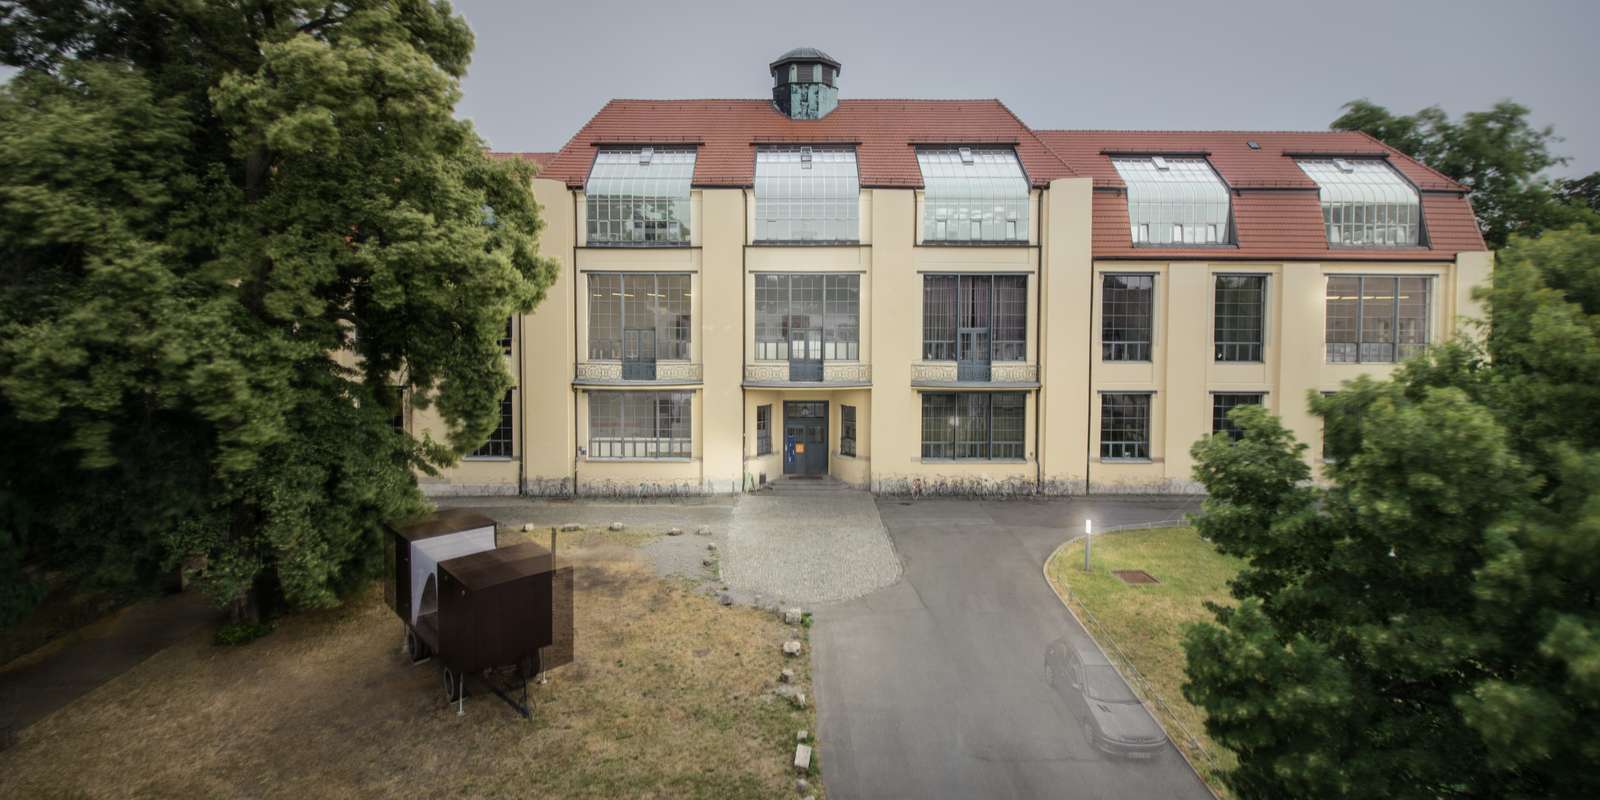
23 Jul 2016For the Summaery 2016, the annual exhibition of the Bauhaus-University Weimar I made a long exposure project. The plan was to expose an image for about four days. In the end the camera failed and just managed to record 16 hours, but the part about the camera enclosure may be interesting.
Idea:
Put a decent camera in a weatherproof housing and place it on the roof. The camera shall be remote controllable, i.e. it should upload single pictures. The single pictures are used as an input for my long exposure software and the result is displayed live.
Related Work:
Other people or projects that have built something similar (a weatherproof outdoor housing for a DSLR):
- An noname pelicase clone: Link
- A webcam on Teneriffa where a Pelco EH5700 housing is used: Link
- based on pelicases: Link
- and another one using pelicases: Link
- the tbox, based on peli stormcases: Link
Problems to solve:
Enclosures
Pelco sells the EH5700 series of housings which are roomy enough for a decent camera, but they are hard to find in Germany. The Peli Stormcases are nice, but way to expensive here, compared to the slightly older and harder to handle Pelicase series. The Pelicase 1300 is just big enough to fit everything and can be bought for 60€. In the end a good compromise.
How to control the camera?
I could use a standard intervalometer which just triggers every X seconds the camera. Powered by 2 AAA batteries, runs basically forever. But that would make it impossible to adjust the interval depending on the time of the day or upload pictures directly. Hence, a little more brain is needed. Controlling the camera, taking pictures and uploading is done by a Raspberry Pi. Alternatives would be using a BeagleBone Black (more expensive) or an TL-MR3200 (runs just openwrt). Sony offers a crappy API to control your camera via Wifi, but that’s unreliable, power consuming (the camera gets really hot) and just nasty; although, it’s quite nice when it comes to coding. Alternatively: with the good ol’ gphoto2 the camera can be controlled via USB, which is way more reliable, but it’s still a bit nasty since gphoto2 is awful to use. Nevertheless, sometimes there is no perfect solution, so I decided to stick with the latter.
How to power the whole thing?
Camera and Raspberry Pi require to be powered. By using Power Over Ethernet I just need a single (ethernet) cable and can use half of the wires for data, half of them for power. TP-Link sells some cheap Injector/Splitter combo which works just fine. The splitter can output 5, 9 or 12v, but the camera runs on 7.2-7.5v and Raspberry Pi on 5v. By using 9v output two buck converters change the voltage. But there is one problem: when the camera takes a picture, power draw peaks for a split second and PoE supply fails. A 4700uF capacitor between camera and buck converter solves this.
Network
There is wifi in every building of the university. The raspberry uses my account to connect to the network and establishes with autossh an reverse-ssh connection to the server. By ssh-ing into my server, I can piggyback on the reverse-ssh connection to the raspberry on the roof, even if it’s hiding behind the walls of the university network.
Bill of Materials:
| Part | Shop Link | Price |
|---|---|---|
| Sony a6000 (used) | 360,00 € | |
| Commlite EF to E Adapter (used) | 45,00 € | |
| Canon 10-18mm 4,5-5,6 | Amazon | 219,00 € |
| Shipping Amazon | 3,00 € | |
| Pelicase 1300 | Mundus | 59,99 € |
| Shipping Foto Mundus | 4,99 € | |
| Cheese Plate | Amazon | 12,88 € |
| UV-Filter | Amazon | 19,99 € |
| Step-Up Adapter 82-95mm | Amazon | 8,99 € |
| Dummy Camera Battery | Amazon | 12,99 € |
| Lens Cap 95mm | Amazon | 5,99 € |
| Arca compatible Holder | Amazon | 15,99 € |
| Camera Plate | Amazon | 6,99 € |
| PoE Injector | Amazon | 20,90 € |
| PoE Splitter | Amazon | 10,95 € |
| Variable Buck Converter 12v | Pollin | 2,95 € |
| hole saw | Pollin | 7,45 € |
| MDF Sheet | Pollin | 1,49 € |
| Hohlstecker | Pollin | 1,50 € |
| Hohlstecker | Pollin | 1,25 € |
| Temperature Sensor DS18S20 | Pollin | 2,30 € |
| Shipping Pollin.de (2x) | 9,90 € | |
| Epoxy Glue | Reichelt | 3,90 € |
| Kabelverschraubung M20 | Reichelt | 0,79 € |
| Kabelverschraubung M20 Nut | Reichelt | 0,20 € |
| Capacitor 25V, 4700uF | Reichelt | 0,99 € |
| Shipping Reichelt | 5,60 € | |
| Proto-Board | exp-tech | 4,50 € |
| Polulu 7.5v Step-Down Converter | exp-tech | 9,95 € |
| 0.1” Female Angled Header | exp-tech | 0,44 € |
| Shipping exp-tech.de | 3,50 € | |
| 3/8” (1”) Screw + Nut + Washer (2x) | Zollshop | 3,04 € |
| 1/4” (5/8”) Screw + Nut + Washer (4x) | Zollshop | 4,12 € |
| Tools for Imperial Screws (1/8”) | Zollshop | 0,80 € |
| Tools for Imperial Screws (3/16”) | Zollshop | 1,20 € |
| Shipping Zollshop.de (2x) | 5,80 € | |
| Not Listed | ||
| Aluminium Extrusion (openbeam) | MakerBeam | |
| cat5 cable | ||
| usb cable | ||
| Sum | 879,32 € |
Actually the expenses were - of course - a bit higher since I bought materials that I didn’t use in the end or bought extra quantities just to be sure.
Building steps
Drilling the Holes
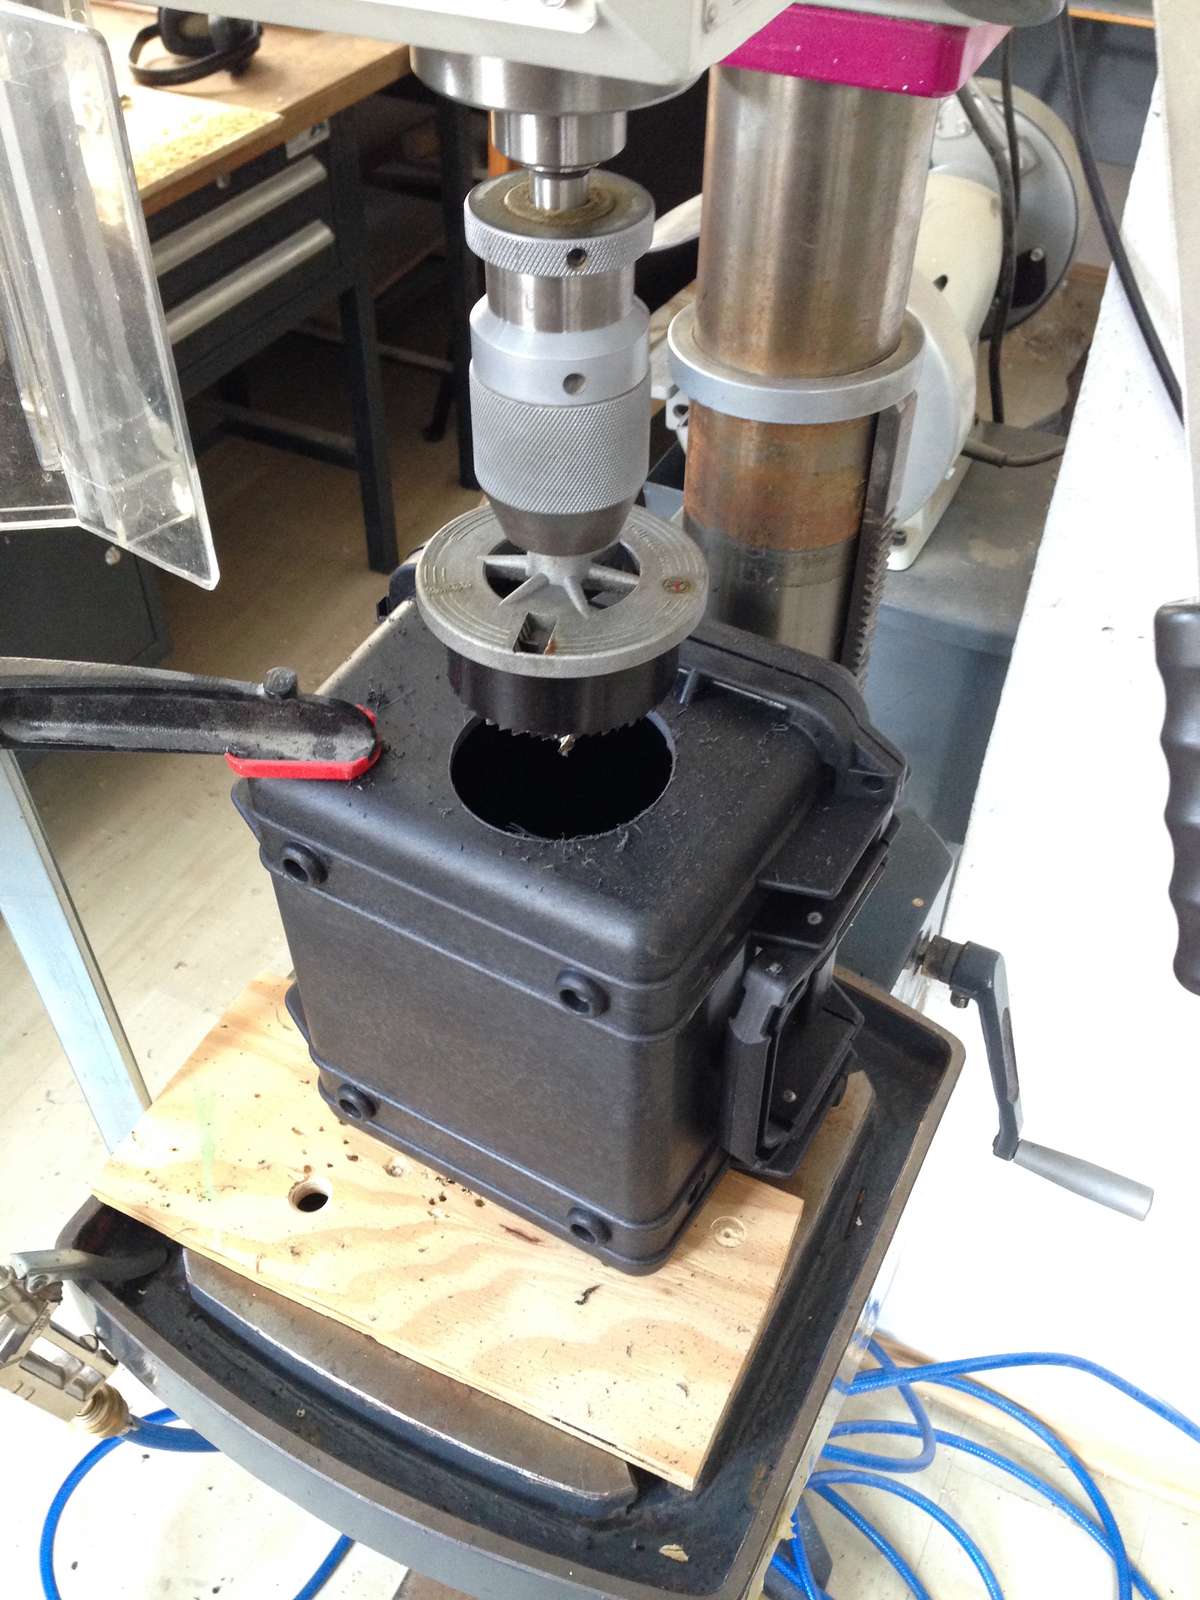
Drilling the front hole is done using a 81mm hole saw (remember the step down filter adapter has an 82mm end). The hole saw which I ordered was one of the cheap models and lasted exactly 2 front holes. Job done.
Glueing the Filter Adapter
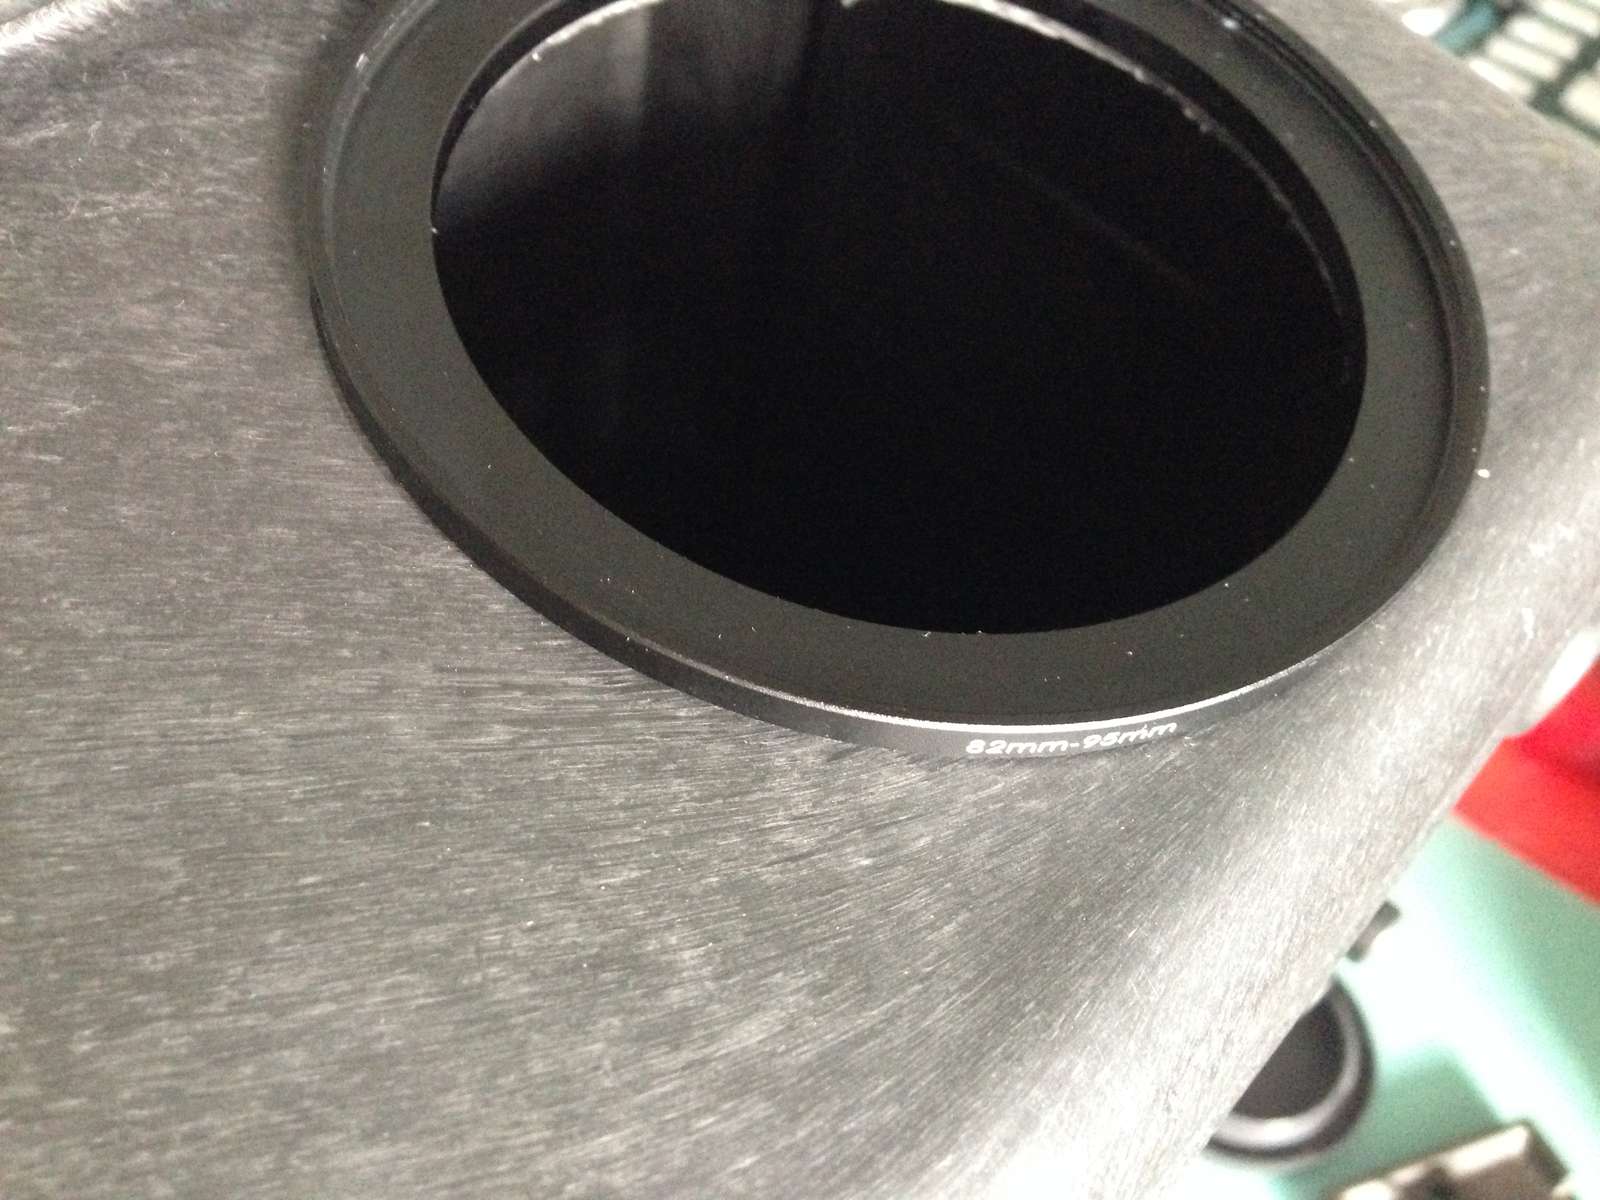
I used two component acrylic glue. Worked fine on ABS plastic and metal.
Attaching the Base
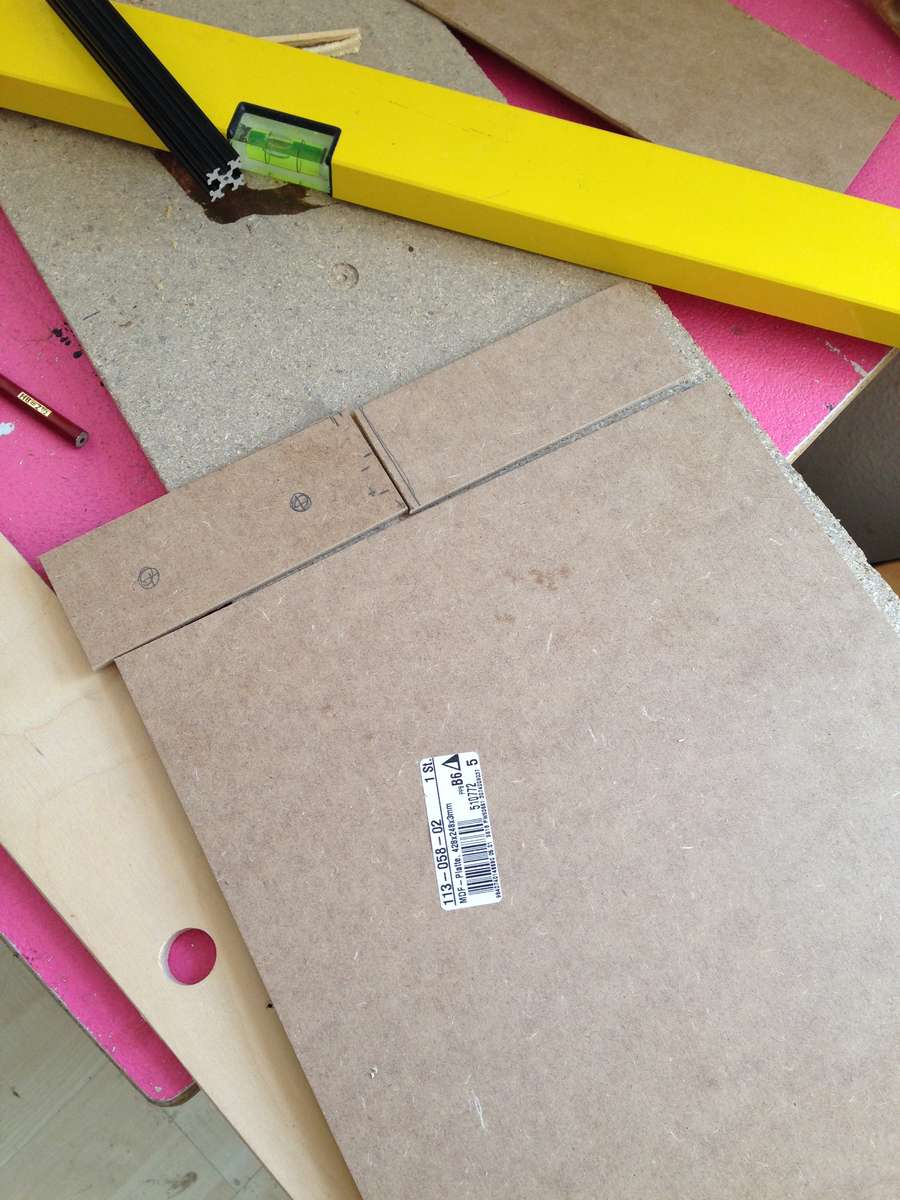
The knob of the clamp would touch the bottom of the case, so a 6mm spacer was needed. Basically just two 3mm MDF cutouts.
Securing the Camera
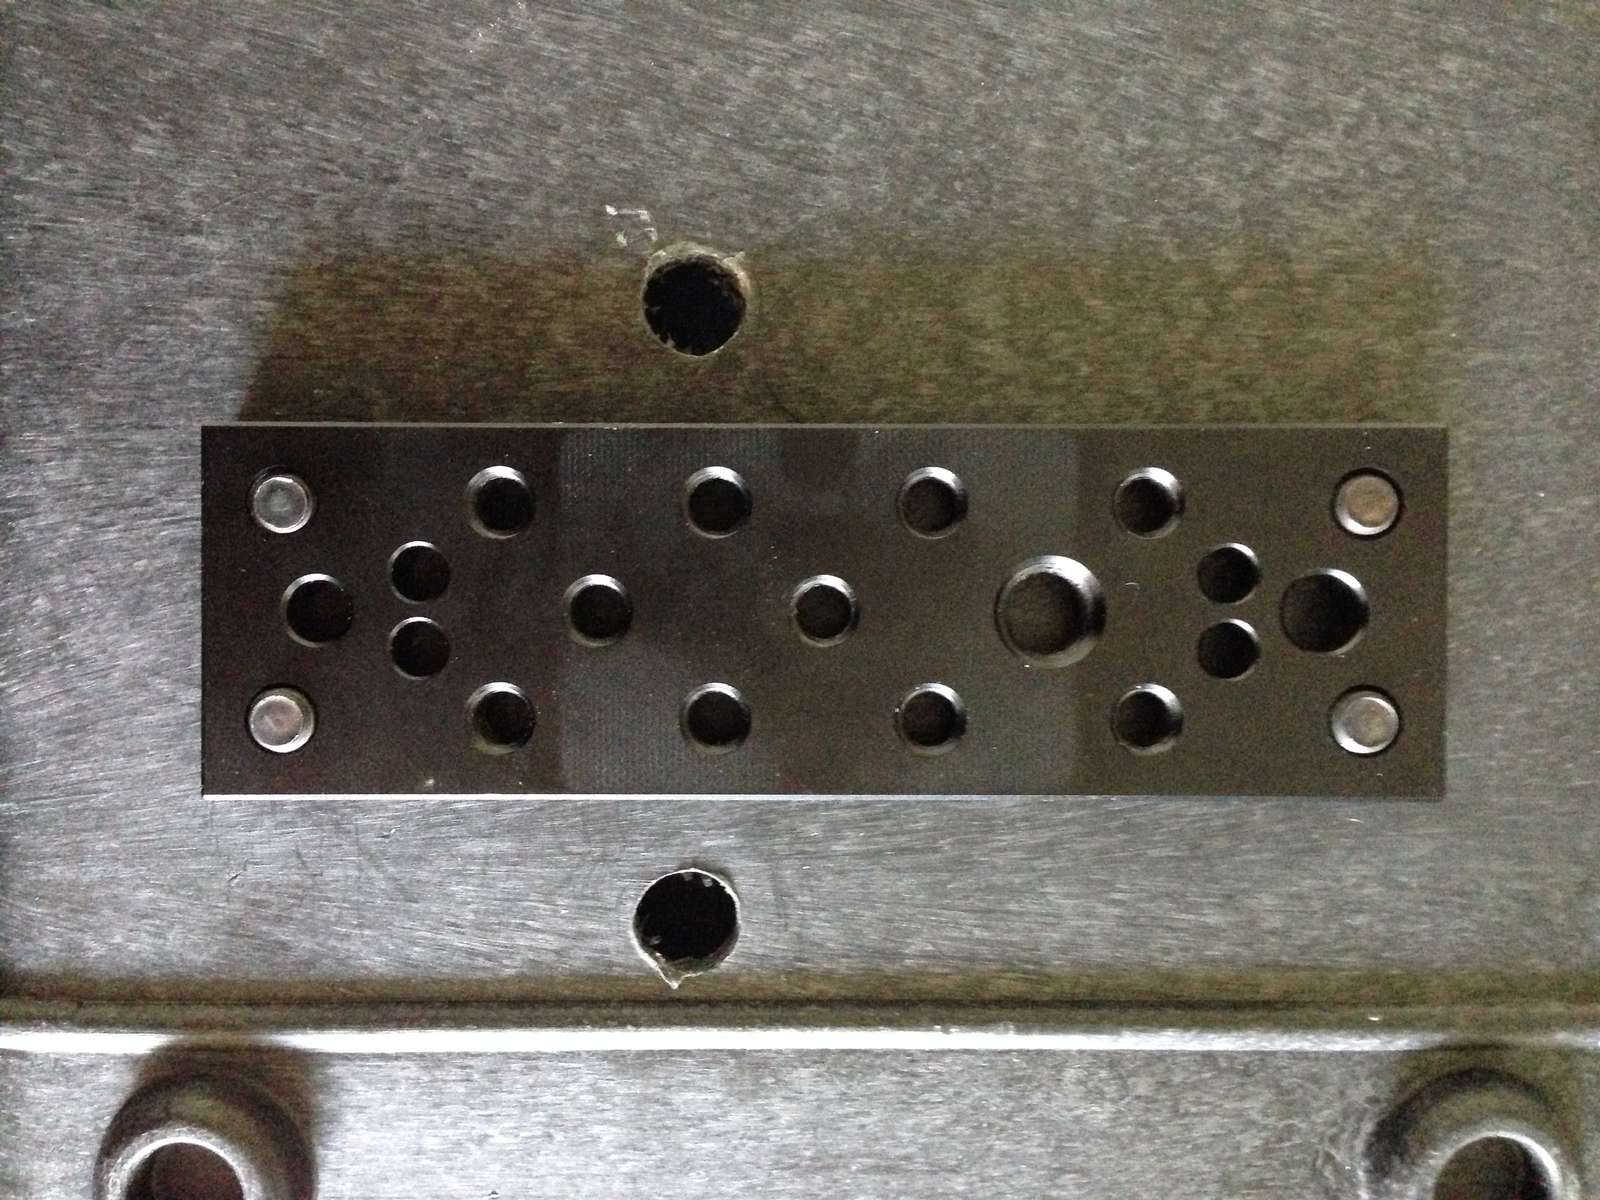
A simple cheese plate with 1/4 inch screw threads, made for securing displays on a video camera rig works just fine. Sturdiness is fine as long as no strong winds are hitting the enclosure.
Power Supply and Computing Hardware
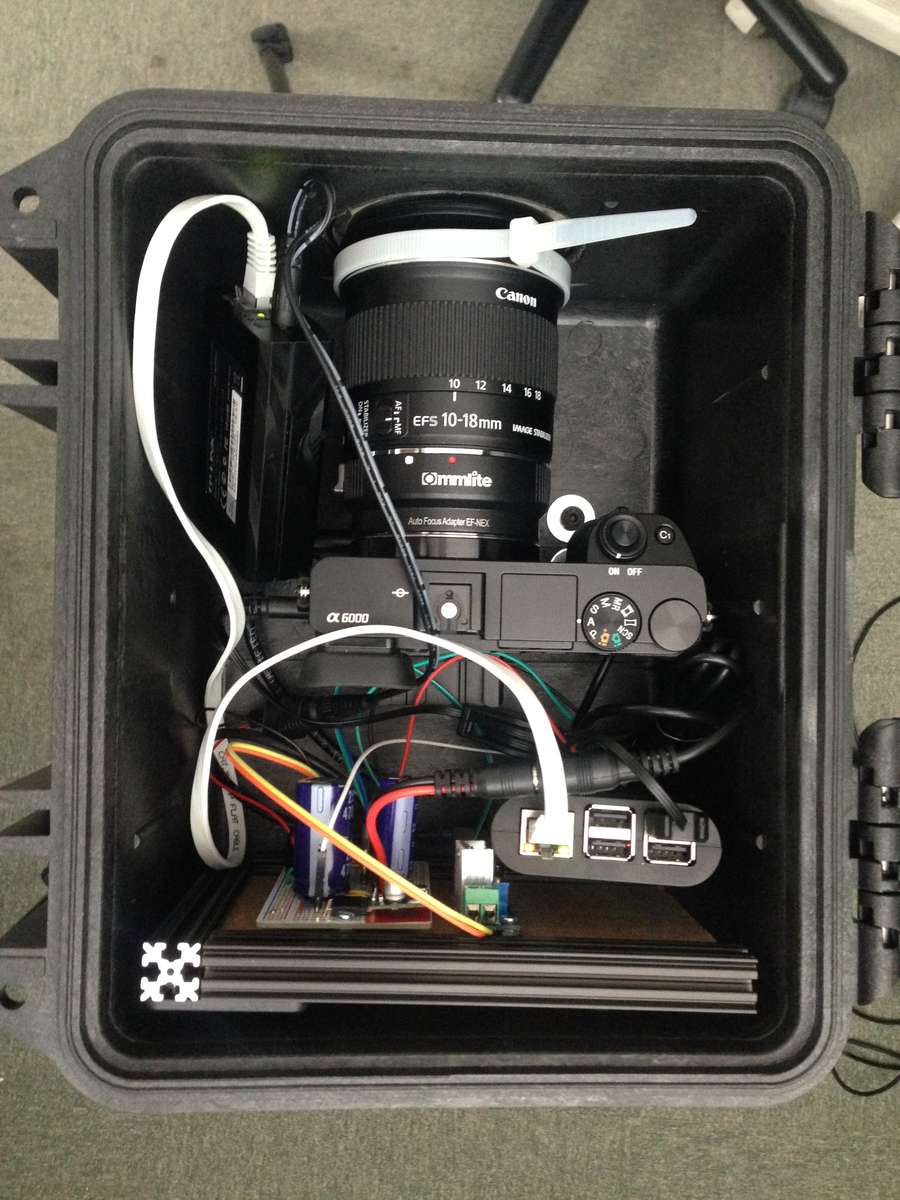
Soldered on to a proto board, screwed to open beam T-slots, stuffed loosely into the enclosure.
Things that didn’t really work out:
everything. Well maybe not everything, but the camera didn’t run as expected.
Power
Running on Power over Ethernet was a constant struggle to stay withing consumption limits. Camera, Raspberry Pi and Buck converter were always scratching at max. The power peaks while taking an image could initially be managed by using those giant 4700uF capacitors and everything seemed fine at the test setup. But as soon as I put everything together, things started to fail. I reduced consumption by removing the wifi adapter and blocking the viewfinder of the camera so that the camera disabled the display. This worked out okay and even while testing with a 30m ethernet cable, the camera seemed to work. Up on the roof, the power supply failed…
Command and Control
autossh and supervisord. Unreliable as shit. Next time try a constant VPN connection.
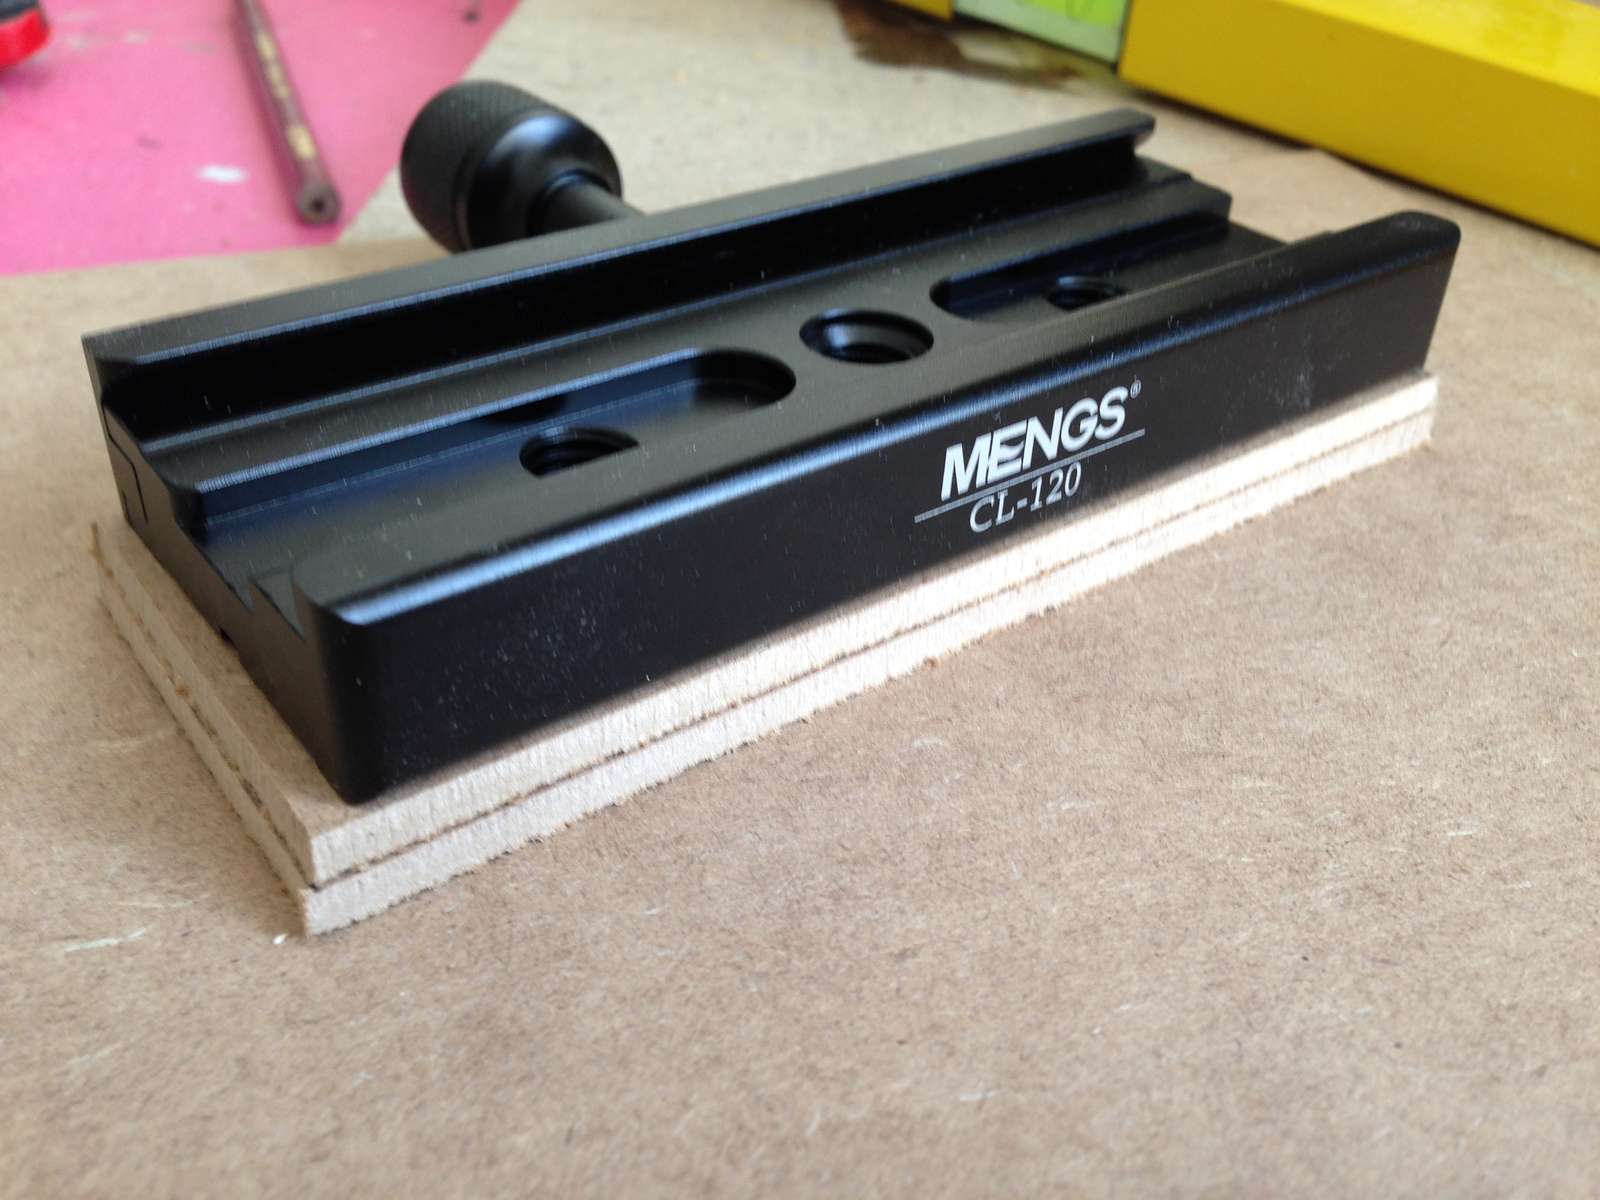
Arca Rail and Double Clamps
My original idea was to screw an arca rail to the bottom of the case and fasten the camera with a single or double clamp to the rail. As it turns out, the camera would be a bit too high above the ground to put an ultra wide angle lens behind the front hole. Not a big problem, I just used a big clamp.
Things that may be good to know
- camera equipment uses weird imperial sizes. The right screws for tripod plates are 1/4” and 3/8” UNC screws (american unified coarse thread series) with 20 threads per inch.
- always use the newest version of gphoto2 (evil bugs for exposure times above 10s)
Wishlist for version 2
- dramatically increase power supply (either IEEE802.3at (30 Watt) PoE or 24v via a dedicated cable)
- use VPN instead of a reverse ssh connection
- use a broader base plate to get a sturdier housing
- use a separate microcontroller as a hardware control unit (switch power, toggle usb connection)
- think of a comfortable way to set and adjust focus
- debug output (LED, Display, …)
Conclusion
Remember that the first try usually fails.